
New Art For an Antique Picture Frame Using Decoupage Fiber
This article show you how to create new art for an antique picture frame using decoupage fiber paper by Redesign.
If you are new to this blog: Welcome! My name is Anna and I share information on collecting antique/vintage items, refurbishing furniture and making small crafts/projects. The purpose of this blog is to show you how to use creativity and antiques to make your home beautiful. In addition to information on the blog, you can also follow me on the following social media accounts Instagram, Facebook or Pinterest.

Handcrafted Society
Welcome to the Handcrafted Society! This is a group of talented bloggers who come together monthly to collectively craft creations using a shared medium or theme. This month’s theme was “frames”. Each blogger created a project that incorporated or was made using a frame or frames.
The projects by the Handcrafted Society are fun and inspiring because we see the varied perspectives and interpretations of the theme by each participant. These women are amazingly creative in making projects for each month’s theme. Towards the conclusion of this post, you’ll find images and links to the projects made by each blogger. I hope you enjoy browsing through all the ideas these ladies have created. Simply click on the image or blog name to view their full post.
Back Story
One of my favorite activities during the summer months is making a trip to Brimfield, Massachusetts to attend their outdoor flea market. This year, I was lucky enough to go with my sister-in-law! We went to Brimfield market prepared for a long day in the sun, full of heat and humidity. While I do shop with specific items in mind, sometimes there are certain pieces that speak to me and end up going home with me.
During this past trip, I stumbled upon an antique picture frame that caught my eye. I knew it was more than 100 years old because I could see the original square nails used in the construction of the frame. The dealer was packing up his space towards the end of the day so he sold the antique frame to me for only $20. The frame was large and didn’t include any art work, but that didn’t bother me. I knew with a little TLC and creativity I could clean up the frame and add new art work. Today’s HCS post is all about how I created new art for an antique picture frame.
New Art for an Antique Picture Frame
Supplies
This post includes affiliate links. If you purchase items from links provided in this post, I will receive a small commission. However there is no additional cost to you. As an Amazon Associate I earn a small commission from qualifying purchases. I am presenting you with my own opinion and honest review of the information provided. If you want to read the entire disclosure statement, please click HERE. You can also read my privacy policy by clicking HERE.
Most of these supplies are available at your local craft store such as Hobby Lobby or Michaels. Where possible, I have provided links to online sources.
- Frame of your choice
- Here are some frames on Etsy
- Foam Board larger than the inset portion of the frame
- Mod Podge
- Craft brush
- Decoupage Fiber Paper. I purchased mine from Etsy.
- Brown kraft paper and double sided adhesive tape– optional for the back of the picture frame
- Cutting mat, straight edge ruler and box cutter.
- Scissors
- Small nails or picture frame point driver
Step 1: Clean the Antique Frame
The antique picture frame I purchased was in need of a good cleaning. Using a bucket of hot water, Mr. Clean, and a soft scrub brush, I thoroughly cleaned the front and back of the frame.


After scrubbing the frame, I hosed it down to remove all the dirt and grime. Then, I left it outside in the sun to dry.
Step 2: Cut Foam Board
Measuring the inset of your frame, cut a piece of foam board to size. It’s easiest to cut your foam board to size using a cutting mat, a straight edge rule and a box cutter or Xacto blade.


The foam board should fit snuggly into the picture frame.
Step 3: Apply Decoupage Image
First, there is an amazing selection of decoupage art including, animals, botanicals, landscapes and portraits. Decoupage fiber paper is more like a thin sheer fabric. It reminds me of black landscaping fabric used to block weeds.
Note: Use a warm iron to remove any folds or wrinkles from the decoupage image.
Determine where you want the image to align with the foam board.

In the image above you can see the foam board under the decoupage fiber paper. Then apply Mod Podge to the surface of the foam board.

Be sure to uniformly apply Mod Podge to the entire surface of the foam board and pay special attention to the edges of the board.
Carefully apply the decoupage fiber paper. Note: once you place it down onto the foam board, it’s very difficult to move and adjust the image.

Because the fiber paper is so sheer, the Mod Podge will seep through to the front of the image. Let the Mod Podge dry completely.
Step 4: Attach New Art to Antique Frame
Once the decoupage image has dried, trim off any remaining portions of the image. Place the new art inside your picture frame. To keep your new art in place you can use a picture frame point driver or some finishing nails.
I decided to finish the back of my frame with some brown kraft paper, using the double sided adhesive tape, for a clean finish.
Step 5: Enjoy the New Art in an Antique Frame
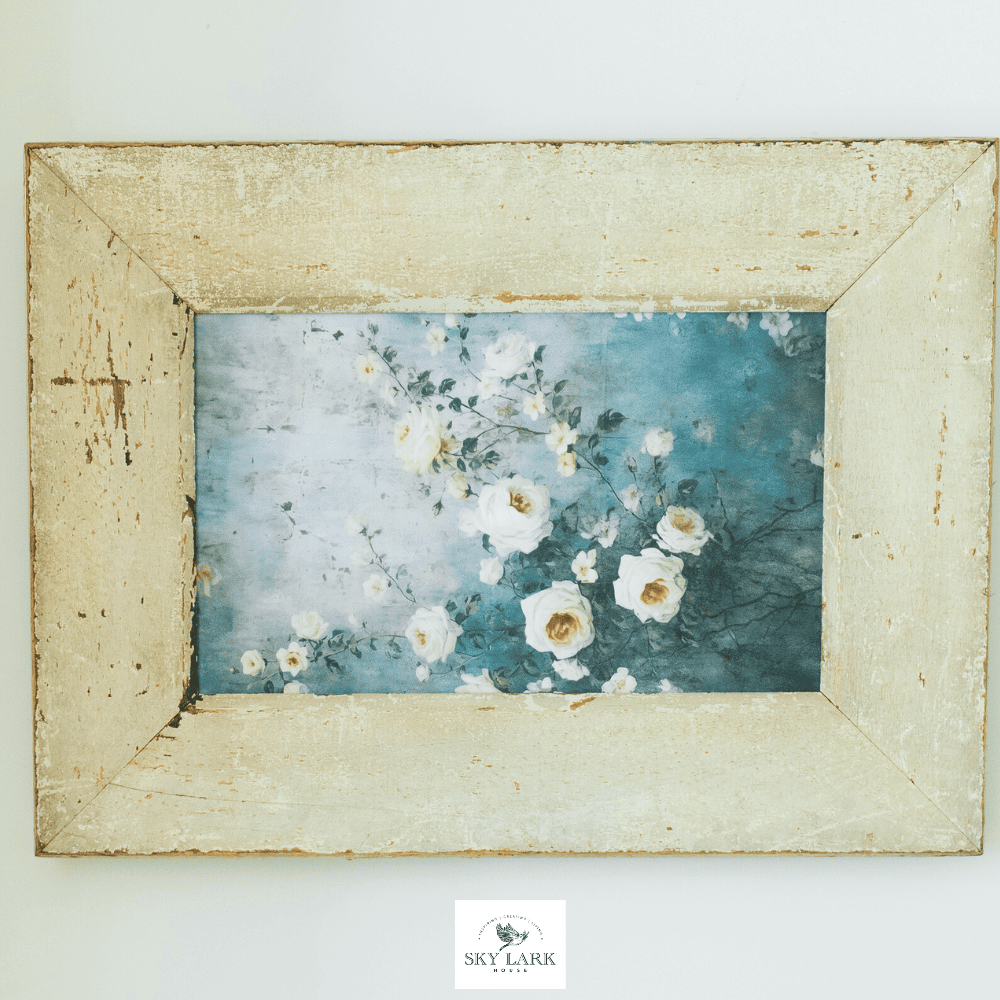
Finally, you can hang your new art in an antique frame! Below are some photos of the finished product.

I am happy with how this project turned out!

It’s nice to know an antique frame is being given a new life. Hopefully, it will be around for another 100 years.

Frame Projects from the Handcrafted Society
Below are other projects that incorporated the theme of “frames” created by the ladies in the Handcrafted Society. They are all tremendously talented so be sure to visit their sites for more inspiration.

In Closing
Thank you for stopping by the blog today. If you liked this post, you might enjoy the projects below. Happy creating!


So pretty!! What an amazing frame…such a good find!
Thank you Rachel! I appreciate the comment and kind words!
Love how this project came together, Anna. It’s so pretty! I love the design you chose and how the frame looks like it was shipped over from Europe. You find the best stuff! I would have never guessed this is made with fiber paper. That is so cool! Can’t wait to try this too! Big hugs, CoCo
Hi Anna! Your antique frame is such a fabulous find! I have never used decoupage fiber paper, but this turned out so beautiful that I’m eager to try it! Pinning now so I can try it sometime!
Hi Donna – Oh my goodness, I can see you creating some amazing projects with Decoupage Fiber Paper. You will love it.
Love this post! I have never used fiber paper before, so I am really excited to try it. Your project is truly beautiful!
Thank you Missy. I appreciate the kind words!
Anna, that is sooo lovely — gorgeous soft colors. I knew immediately that this was your project. I am ow so intrigued by this fiber paper and I have a project I’ve been looking for just this type of medium for. Yee haw! Now that project can move forward!
Ad I’m so jealous you get to go to Brimfield. It’s on my bucket list!
Diane – You will love using decoupage fiber paper and you will DEFINITELY love going to Brimfield. I hope you get to cross going to Brimfield off your bucket list soon.
I love hearing about great flea market finds! What a perfect use for it by putting in a decoupaged picture. I love it –
Hi Lynn – Thank you for the kind words!
Amazing. I had never even heard of decoupage fiber art, until reading this, now I’m definitely going to travel down that rabbit hole. You have such a great eye for spotting treasures in the wild, and then bringing them new life. I’ve learned so much from you! Thank you for sharing your creativity and Brimfield, with me!
Hey Susan! It was an honor to shop Brimfield with you! Can’t wait until the next show!
Oh I thrive on learning about new things like the fiber paper, and can’t wait to try it on a project of my own. Your frame is absolutely gorgeous. I love how the pretty artwork, and the frame compliment each other perfectly! Fantastic project my friend!
Thank you Michelle. If and when you do try fiber paper, I hope you share your project with us!